Aluminum Anodizing Finishing Services
Coordinate machining, masking, color and inspection for durable Type II and Type III anodized aluminum parts.
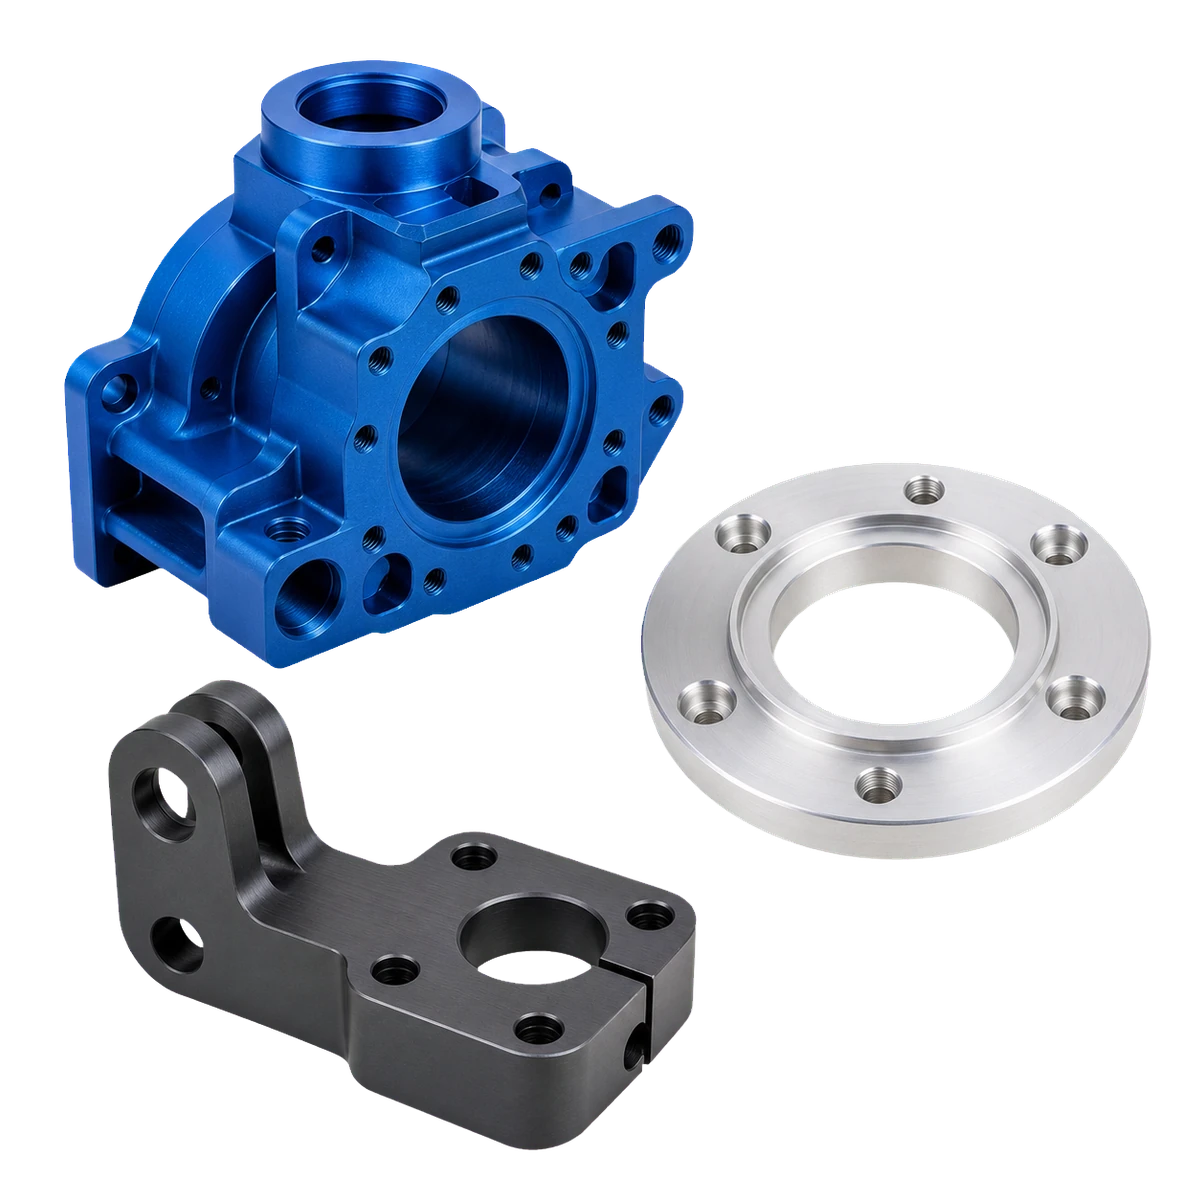
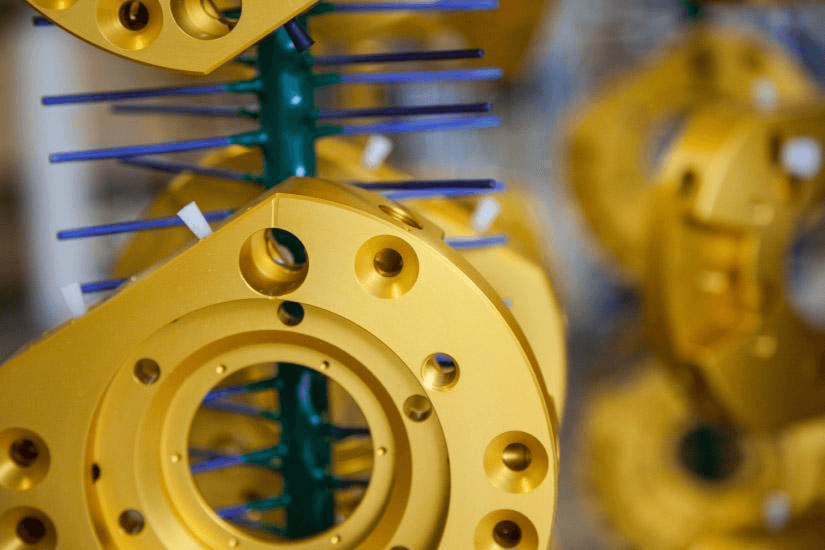
The oxide layer is grown from the aluminum surface rather than applied as paint.
What Anodizing Adds to a Machined Aluminum Part
Anodizing uses an electrochemical process to convert the aluminum surface into a controlled oxide layer. Alloy, surface preparation, bath conditions, film thickness, dye and sealing all influence the final result.
Corrosion Resistance
A sealed oxide layer helps protect aluminum in suitable service environments.
Wear and Scratch Resistance
Harder surface routes can improve durability on contacting or handled areas.
Electrical Insulation
The oxide layer is electrically insulating, subject to thickness and application.
Controlled Appearance
Natural, black and selected colors can support functional or cosmetic requirements.
Surface Preparation Choice
Machined, polished or bead-blasted preparation changes texture and light response.
Longer Service Life
The right finish route can reduce surface degradation and repeated handling damage.
Three Aluminum Anodizing Options
Select the surface route around appearance, wear, corrosion, dimensional impact and the areas that must remain uncoated.
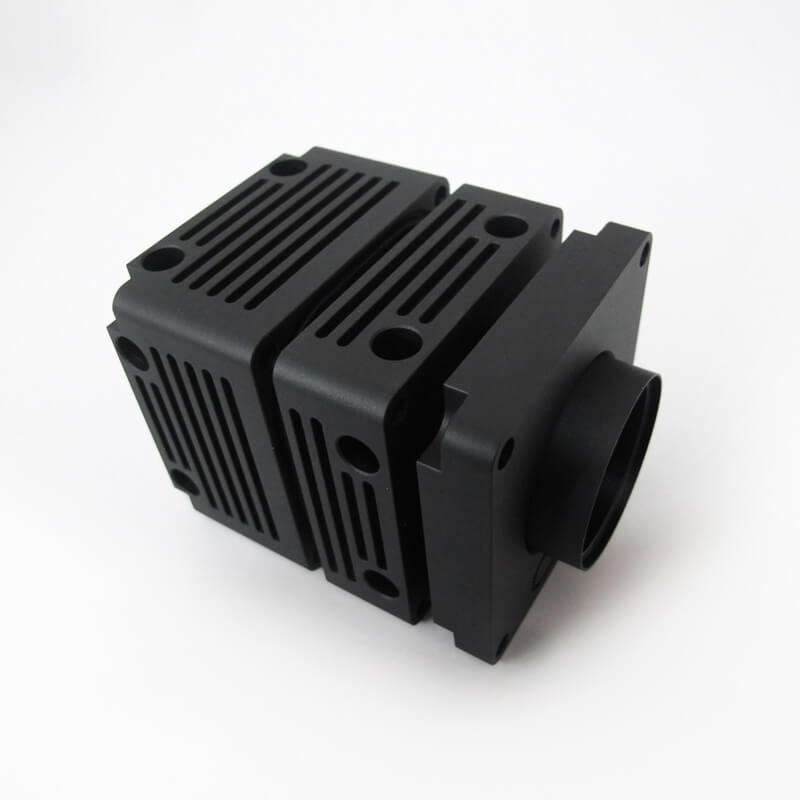
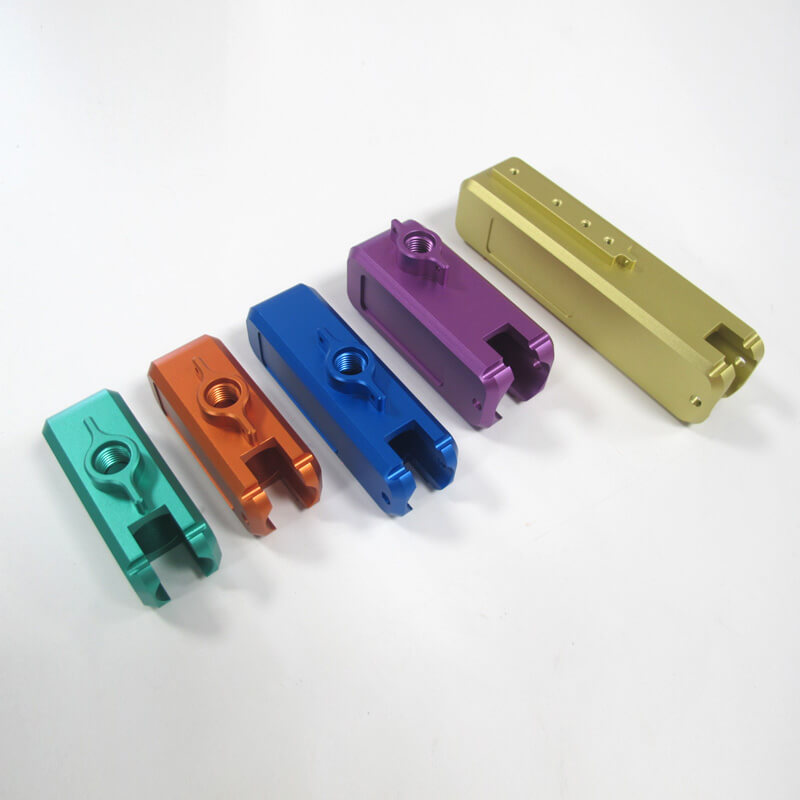
Type II Matte Anodizing
Typical 8-20 µmA bead-blasted or satin preparation creates a low-glare, even surface before anodizing and sealing.
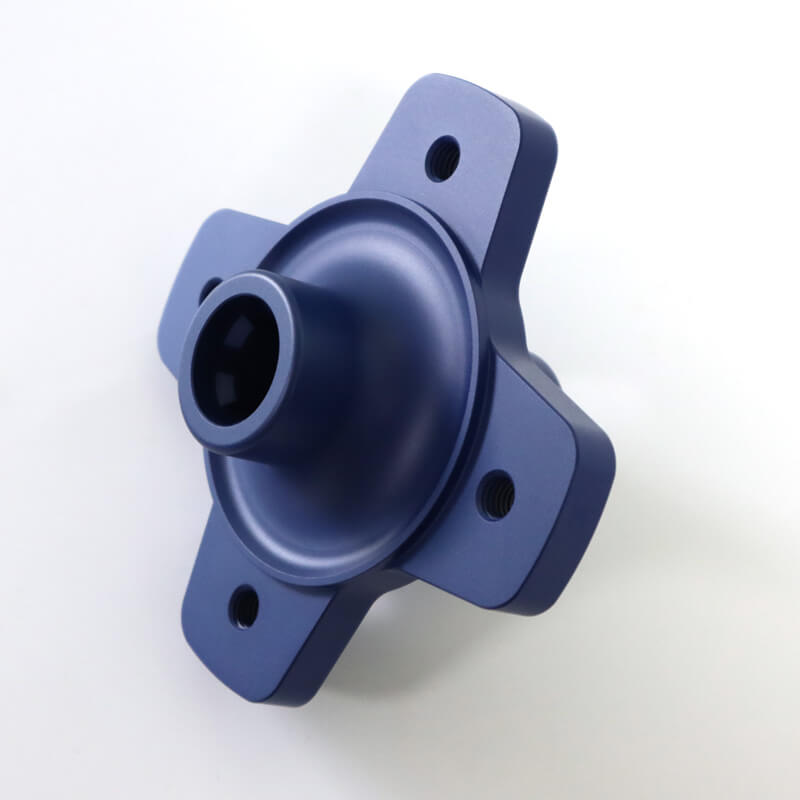
Type II Glossy Anodizing
Typical 8-20 µmA smoother machined or polished preparation preserves sharper reflections and produces a brighter decorative appearance.
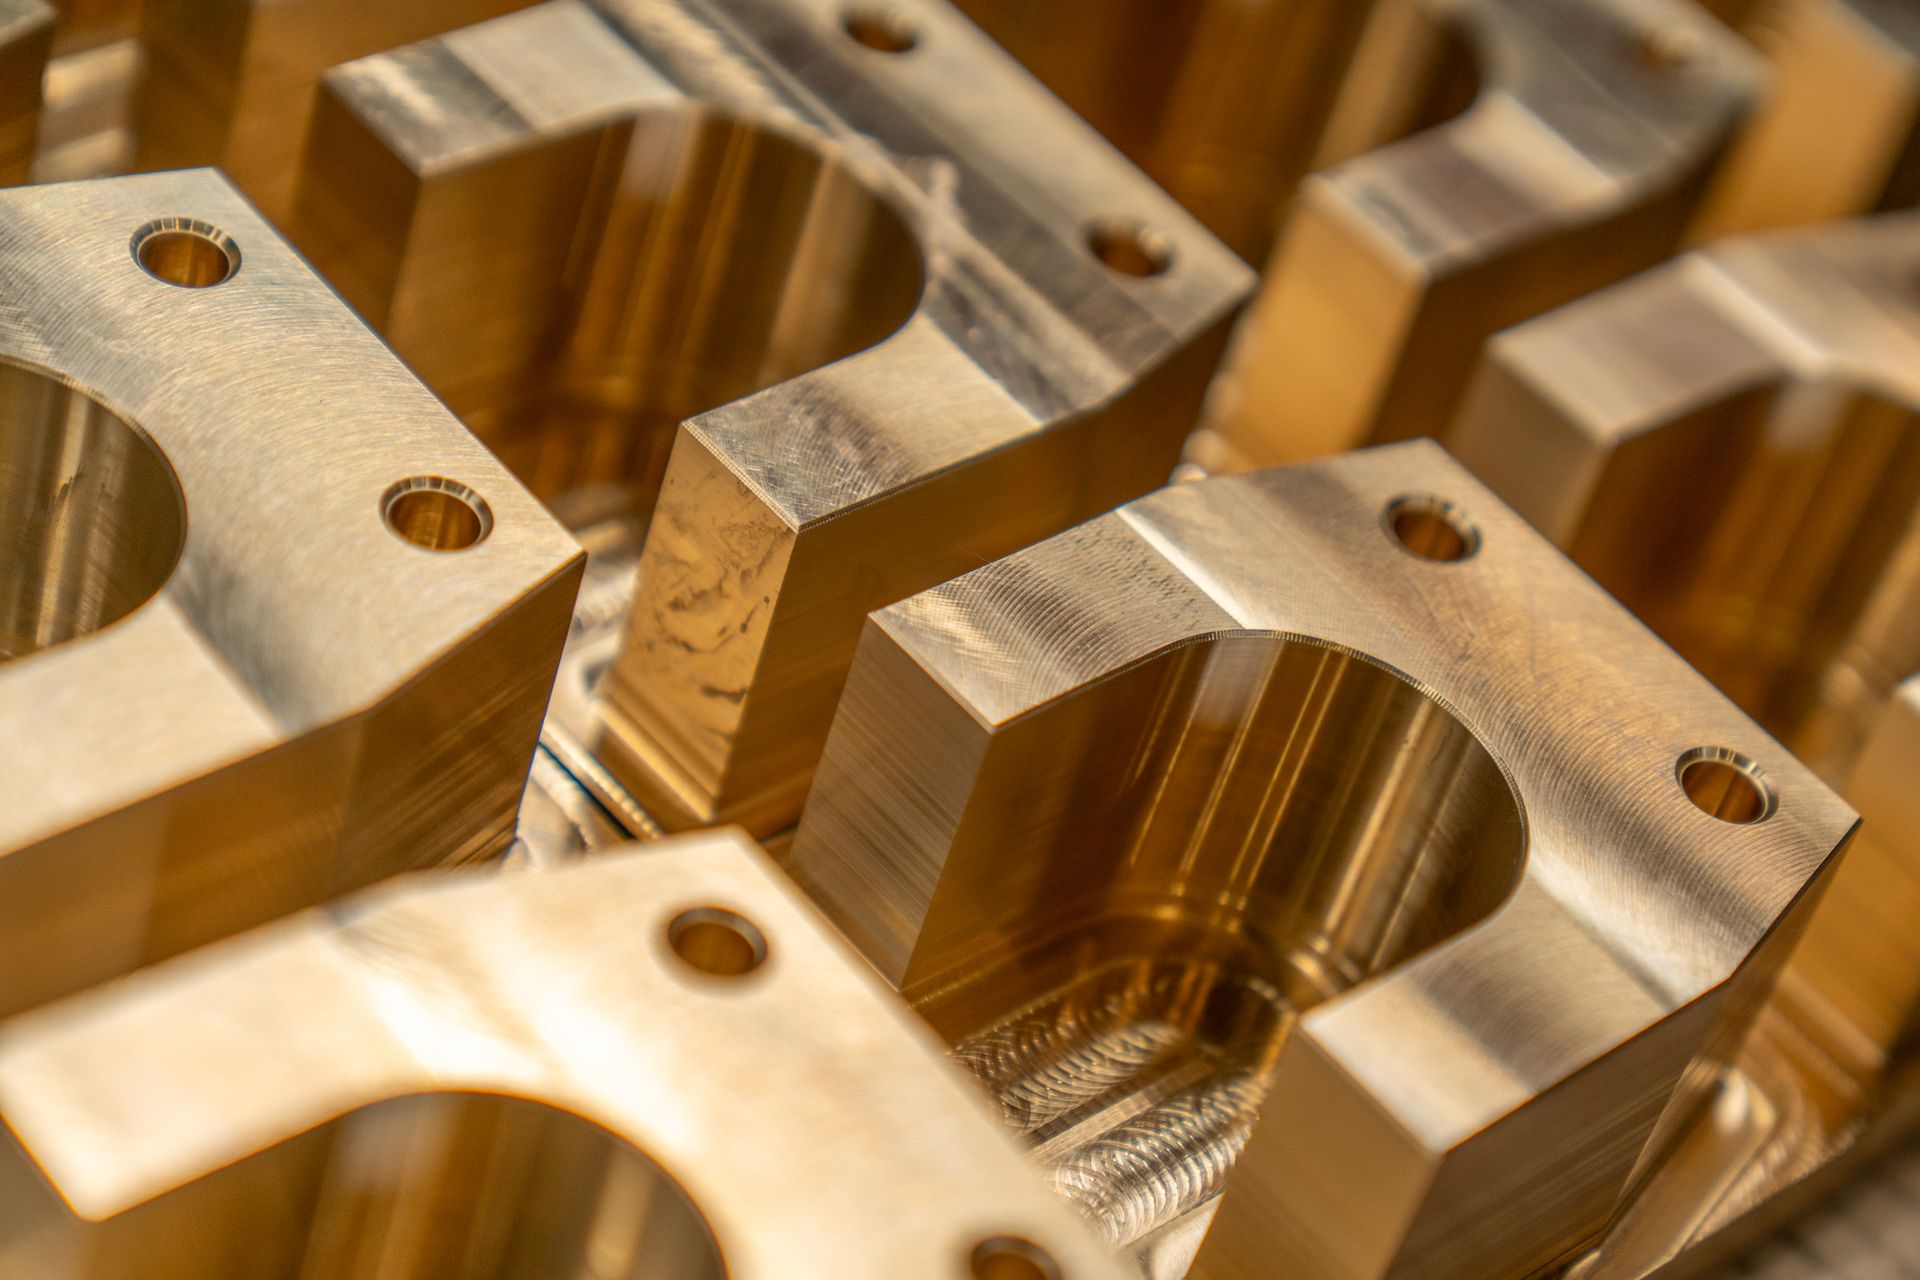
Type III Hardcoat Anodizing
Typical 25-50 µmA thicker functional oxide layer is selected when wear resistance and service durability are more important than bright color.
Typical ranges depend on alloy, surface preparation, color, geometry, masking, sealing and the drawing requirements. Final values are confirmed during quotation and process review.
Plan Critical Interfaces Before Anodizing
The anodic layer grows partly above and partly into the original surface. Fits, threads, bearing seats and electrical contact areas should be reviewed before machining is released.
Request a QuotePost-Finish Dimensions
State whether drawing dimensions apply before or after anodizing, especially on close fits and bore diameters.
Threads and Bearing Seats
Identify threads, bearing locations and precision mating surfaces that may require allowance or masking.
Electrical Contact Areas
Mark grounding points, conductive interfaces and contact faces that must remain free of insulating oxide.
Racking and Contact Marks
Agree acceptable contact locations so electrical connection points do not appear on critical cosmetic surfaces.
Alloy and Batch Variation
Color and texture can shift with alloy chemistry, temper, stock source, preparation and production batch.
Anodizing Color Options
Use these swatches as a planning guide. A physical sample or agreed limit panel is the best reference when appearance is critical.
Need a Specific Appearance?
Send a physical sample, color number or visual reference for evaluation. Exact RAL or Pantone matching is not confirmed until an approved sample or agreed appearance range is established.
Anodized Aluminum Parts Gallery
Representative Type II, hardcoat, natural and color-anodized components. Replace or reorder every image directly in the native Bricks carousel.
From Surface Preparation to Final Sealing
A stable appearance starts before the anodizing bath. Cleaning, preparation, electrical contact, dye and sealing must be planned as one sequence.
Preparation and sealing determine much of the final consistency.
Cleaning
Remove oils, residue and handling contamination from machined parts.
Rinsing
Prevent carryover between chemical stages with controlled rinsing.
Etching / Surface Preparation
Establish the selected matte, satin or prepared surface condition.
Desmutting
Remove alloying residues left after etching and expose a clean surface.
Anodizing
Grow the oxide layer under controlled electrical and bath conditions.
Coloring (Optional)
Introduce approved dye or retain the selected natural appearance.
Sealing
Close the porous oxide structure to support corrosion and color stability.
Inspection Built Around the Finish Requirement
Inspection scope is matched to the drawing, approved appearance reference and functional risk. Critical requirements should be identified before production.
Appearance and Color
Review overall finish, visible defects and agreed color range under defined viewing conditions.
Coating Requirement
Check the specified anodizing type and thickness requirement where measurement is agreed.
Post-Finish Dimensions
Verify critical dimensions that may be affected by coating growth or masking.
Masking and Rack Areas
Confirm protected interfaces and acceptable electrical contact locations.
First Article / Sample
Use a sample or first article when appearance or functional limits need approval before the batch.
One Team for the Machined Part and Its Finish
YXT reviews machining, surface preparation, allowance, masking and inspection as one production route instead of treating anodizing as an isolated final step.
Machining + Finishing Coordination
Critical fits and cosmetic surfaces stay visible from DFM through final inspection.
DFM Before Release
We review allowance, edge condition, rack locations and masking before the job moves forward.
Controlled Masking and Racking
Protected areas and acceptable contact marks are tied back to your drawing notes.
Repeat-Order Clarity
Approved revisions, references and inspection requirements create a clearer baseline for future batches.
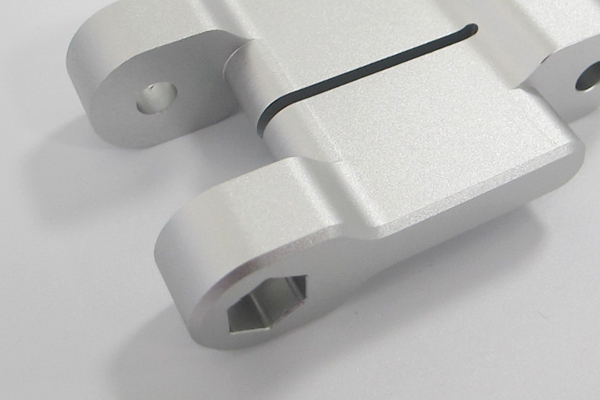
Other Surface Finishing Options
Choose a preparation or coating route around corrosion, appearance, conductivity, wear and the material specified on your drawing.
Aluminum Anodizing FAQs
Resolve the finish route, dimensional impact and appearance reference before your aluminum parts enter production.
3D model, drawing, alloy and temper, quantity, anodizing type, color reference, critical dimensions, masking and inspection notes.
What is the difference between Type II and Type III anodizing?
Type II is commonly selected for corrosion protection and decorative color, while Type III hardcoat uses a thicker oxide layer for greater wear resistance. The right route depends on alloy, geometry, service conditions and dimensional allowance.
How does anodizing thickness affect dimensions?
The anodic layer grows partly above and partly into the original aluminum surface. Critical bores, threads, fits and bearing seats should state post-finish requirements so machining allowance or masking can be planned.
Which aluminum alloys can be anodized?
Many wrought aluminum alloys can be anodized, including commonly used 6061 and 7075 grades. Final color, brightness and uniformity vary with alloy chemistry, temper, stock source and surface preparation, so the exact material must be reviewed.
Can YXT match a RAL, Pantone or customer color sample?
You can provide a sample, color number or visual reference for evaluation. Exact RAL or Pantone matching is not guaranteed until an approved sample or agreed appearance range is established for the alloy, preparation, thickness and batch.
Can threads and critical areas be masked?
Yes. Threads, bearing seats, electrical contacts, grounding points and selected cosmetic areas can be reviewed for masking. Mark every required area clearly on the drawing and identify where rack contact marks are acceptable.
What information is needed for lead time and quotation?
Send the 3D model, dimensioned drawing, aluminum alloy and temper, quantity, anodizing type, target color or sample, critical dimensions, masking notes and inspection scope. Lead time is then reviewed around machining, finishing and approval requirements.
Plan the Machined Part and Anodized Finish Together
Share your CAD files, drawings and appearance requirements. YXT will review the anodizing route, allowance, masking and inspection needs before quotation.